Back
Account Deleted
Hey I am on Medial • 6m
Build Your Own Open-Source Cursor Alternative (No Coding Experience Needed) You’re going to build a mini-Cursor from scratch. Not a replica of every detail, but enough to read code, understand context, answer questions, run scripts, and help you write better code—just like Cursor. This guide holds your hand through every step. Even if you’ve never used n8n, GPT APIs, or built a tool before—don’t worry. You’ll follow along. Let’s go. 🧩 What You’re Building You’ll create an AI coding assistant that: Reads your local code files Uses GPT-4 or Claude (or any AI model) Answers coding questions Refactors code Runs Python scripts Searches the web Feels like a personal dev assistant All using: n8n (a drag-and-drop automation builder) OpenAI or local AI model A simple system prompt Basic file and code tools ✅ Step-by-Step Instructions Step 1: Install n8n n8n is an automation tool that runs on your machine like a no-code Zapier. Option A: Quickest install (Docker) 1. Install Docker 2. Open your terminal and paste this: docker run -it --rm \ -p 5678:5678 \ -v ~/.n8n:/home/node/.n8n \ n8nio/n8n 3. Once it runs, open this in your browser: http://localhost:5678 Boom—you’ve got n8n running. Step 2: Create a New Workflow 1. In the n8n UI, click “New Workflow” 2. Name it: “AI Code Assistant” 3. Click the “+” button to add your first node Step 3: Create Input Node (HTTP Trigger) This will be how you send prompts to the AI. 1. Add node → search for HTTP Request Trigger 2. Set: HTTP Method: POST Path: ask-agent 3. Click “Activate Workflow” at the top Now, anytime you POST text to localhost:5678/webhook/ask-agent, it’ll run your workflow. Step 4: Load the System Prompt (Cursor-style) Cursor uses a detailed system prompt to define how the AI behaves. Here’s a simplified version you can use for now: > You are an AI software engineer. You can read, explain, write, and refactor code. You can execute commands when needed. When responding, explain clearly and concisely. Think step-by-step. Let’s load that in. 1. Add a “Set” node 2. Name it: System Prompt 3. In the parameters: Add a new field called systemPrompt Paste the prompt above Step 5: Merge User Input + System Prompt 1. Add a “Function” node 2. This will merge the input message and system prompt into one payload Paste this in the Function node: return [ { json: { messages: [ { role: "system", content: $json.systemPrompt }, { role: "user", content: $json.body.message } ] } } ]; This sets up the messages GPT expects. Step 6: Send to OpenAI (or Claude, etc) 1. Add an HTTP Request node 2. Name it: Call OpenAI 3. Settings: Method: POST URL: https://api.openai.com/v1/chat/completions Headers: Authorization: Bearer YOUR_API_KEY Content-Type: application/json Body: JSON { "model": "gpt-4", "messages": {{$json["messages"]}}, "temperature": 0.3 } Replace YOUR_API_KEY with your OpenAI key (from https://platform.openai.com) Using a local model like Ollama? Instead of the OpenAI URL, use: http://localhost:11434/api/chat Step 7: Return the AI Response Add a Response node to finish the chain. Set: Response Mode: Last Node Status Code: 200 Now, when you POST a message, it returns the AI’s answer. Step 8: Add File Access Tools Cursor can read/write files. You can too. Add a new HTTP Trigger (called /read-file) and add a “Execute Command” node. Set the command to: cat /path/to/your/code/file.js Return the contents via the Response node. You can repeat this for: write-file using echo "..." > file.js list-files using ls search-code using grep or ripgrep Bonus: Use the AI to decide which files to read based on the user query. Step 9: Add Python Runtime (Optional) Let the AI run actual code. 1. New HTTP trigger: /run-python 2. In the Execute Command node, run: python3 /tmp/ai_script.py Write to that file first using another node. Make sure you sanitize the input or only allow running in sandbox folders. Step 10: Add Web Search Tool (Optional) Let the AI search Google, Stack Overflow, etc. 1. Use the SerpAPI, Brave API, or DuckDuckGo (free) 2. Add an HTTP Request node that queries based on user message 3. Feed those results back into the AI message chain Step 11: Wrap It Up with CLI or Frontend To call your agent: curl -X POST http://localhost:5678/webhook/ask-agent \ -H "Content-Type: application/json" \ -d '{"message": "Can you explain what this TypeScript file is doing?"}' Want a prettier UI? Use Tauri or Electron to wrap it in a VS Code-style shell Or use the n8n API to build your own React frontend 🚀 You Just Built a Mini Cursor It can: Read files Call GPT-4 Use tools Answer questions Run scripts All while keeping your code private and local And you didn’t need to write a real backend. 🔓 Why This Is Big Cursor is cool—but it’s closed. You just built the open version. Anyone can use it, extend it, and share it.
More like this
Recommendations from Medial
Mitsu
extraordinary is jus... • 5m
I finally understood the difference between Claude Code and Cursor. The answer is that Cursor will punish you for writing a bad prompt. if you write a good prompt it will give you good results, and if you write a bad one, you will get bad results.
See MoreBaqer Ali
AI agent developer |... • 4m
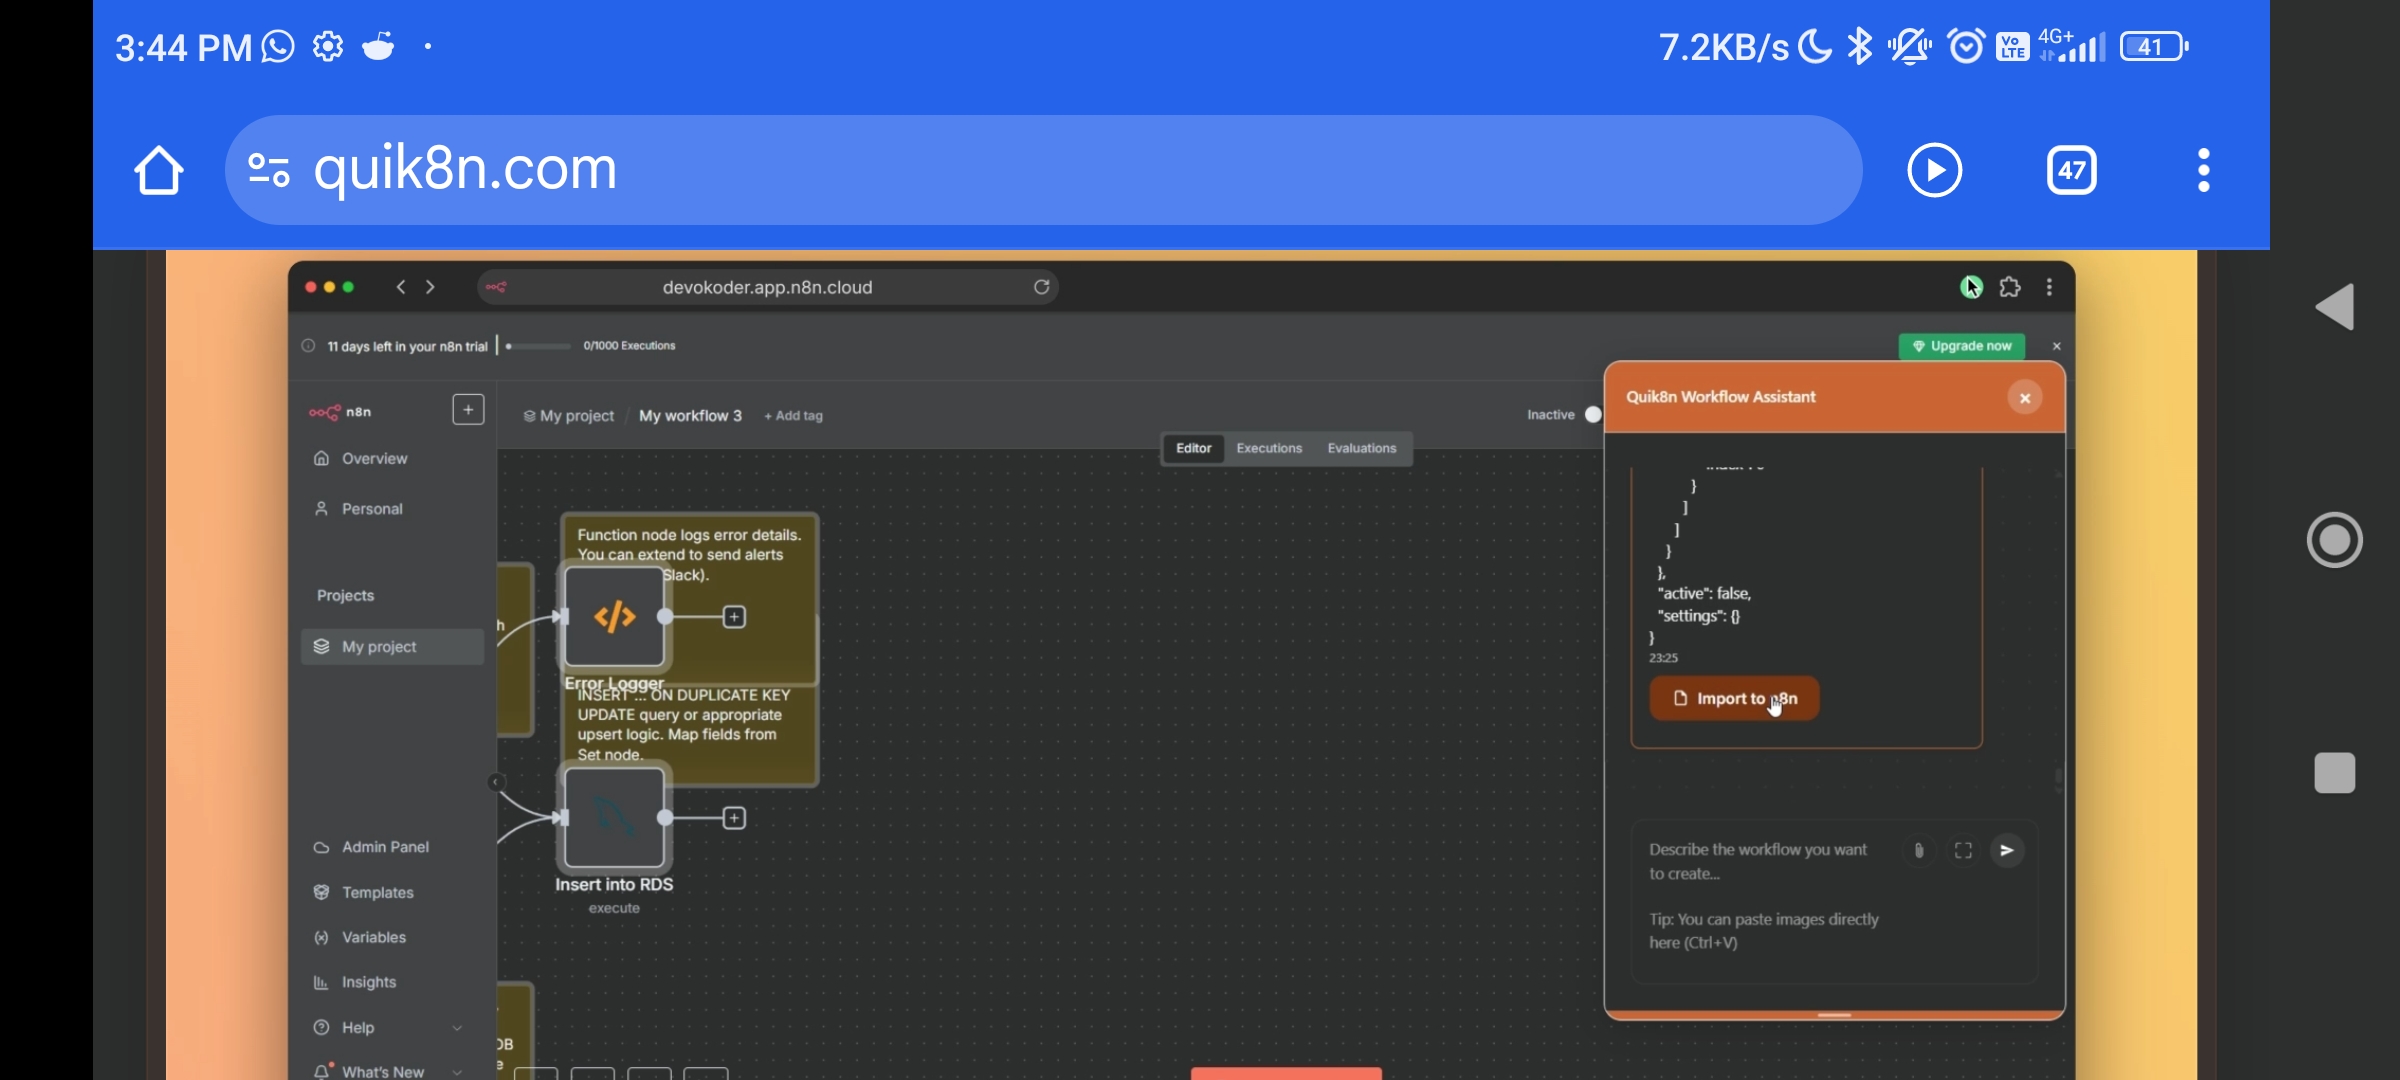
I love n8n and creating automation for n8n However creating workflow dragging dropping and writing code in between can be time consuming So recently I have discovered Quik8n It is like cursor for n8n You have to give prompt and the model will
See More
Jainil Prajapati
Turning dreams into ... • 9m
🚨 MICROSOFT VS CURSOR & WINDSURF: THE AI IDE WAR JUST GOT SPICY! Microsoft is BLOCKING Cursor & Windsurf from using VS Code extensions via licensing restrictions. 😱 Cursor (a full VS Code fork) & Windsurf (a plugin-based IDE) are now scrambling
See MoreVarun Bhambhani
•
Medial • 10m
Automating Blog Post Creation with n8n Creating high-quality blog content consistently can be time-consuming, especially when you have to generate text, find relevant images, create SEO-friendly meta descriptions, and publish everything manually. Th
See More
Download the medial app to read full posts, comements and news.


